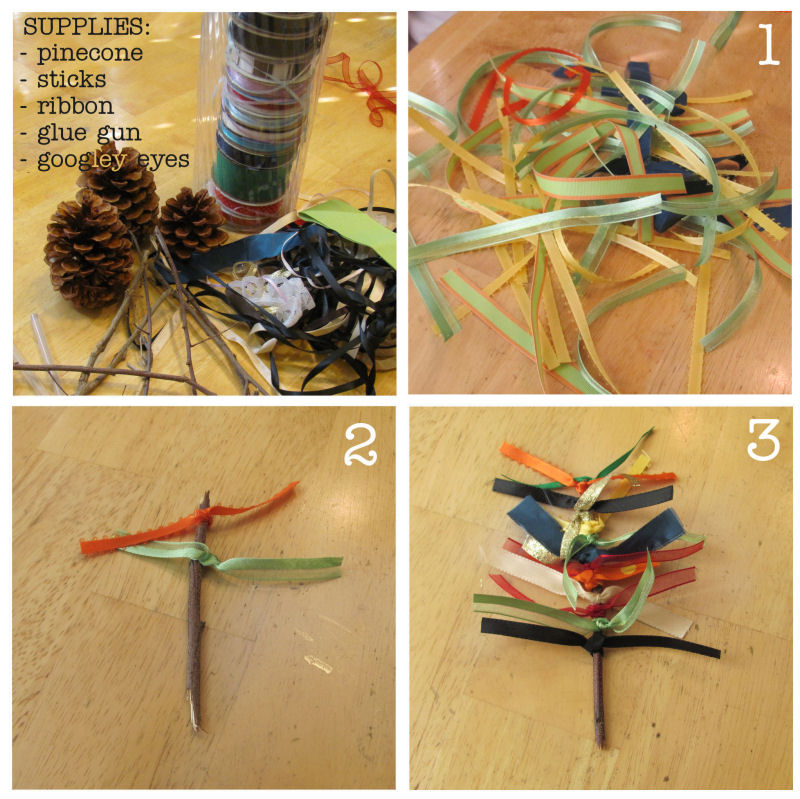
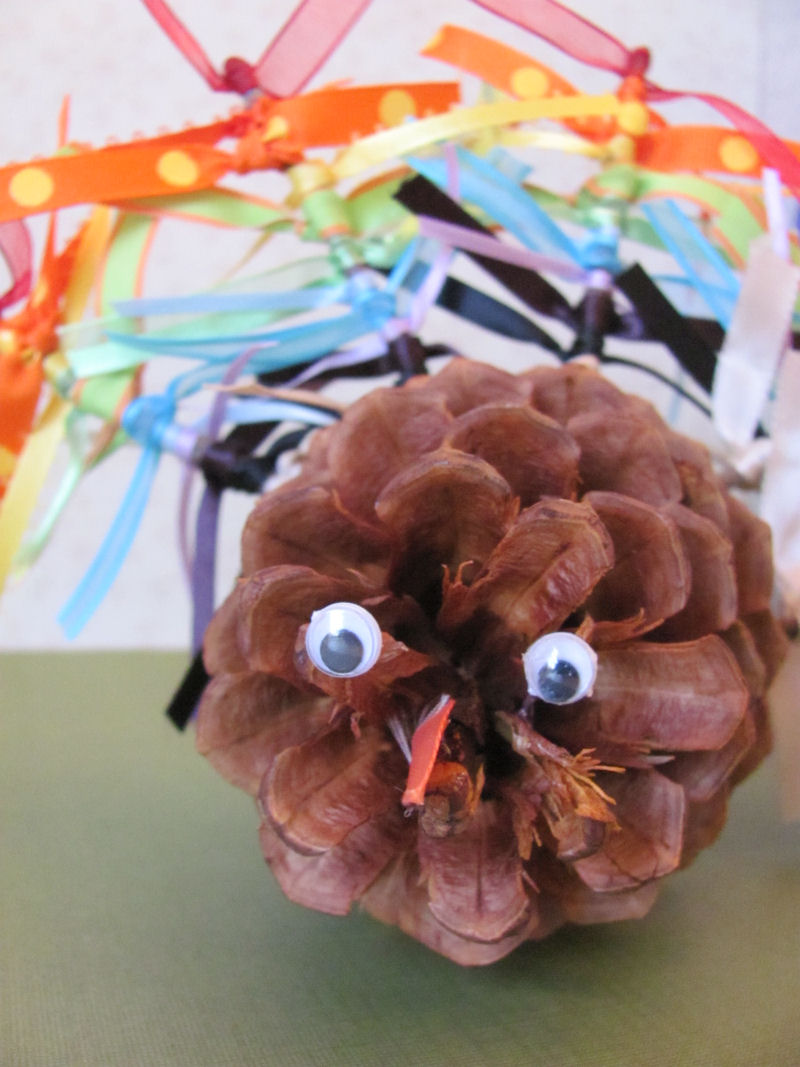
This ribbon feather pinecone turkey is fun to make and to display.
Thanksgiving is one of my favorite holidays! I like that my kids try to focus on being more grateful for what they have. I love the colors of fall and the cool weather it brings. And compared to other holidays, it has a much lower stress factor!
We usually get together with family to celebrate. My mother-in-law is a brilliant party planner and always has fun projects for the kids to do. {Check out the Hidden turkeys my family made.}
This year, I thought these little turkeys would be a bug hit. You only need a few supplies:
pinecones ~ sticks ~ ribbon ~ googley eyes
1 – Start by cutting different colors of ribbon into 3-inch pieces. I found that 3/8 inch ribbon worked well.
2 – Break sticks into 4-5 inch lengths. Tie pieces of ribbon in a double knot onto each stick.
3 – Keep ribbons close together to form a “feather”. Leave about a half-inch of bare stick to glue into a pinecone.
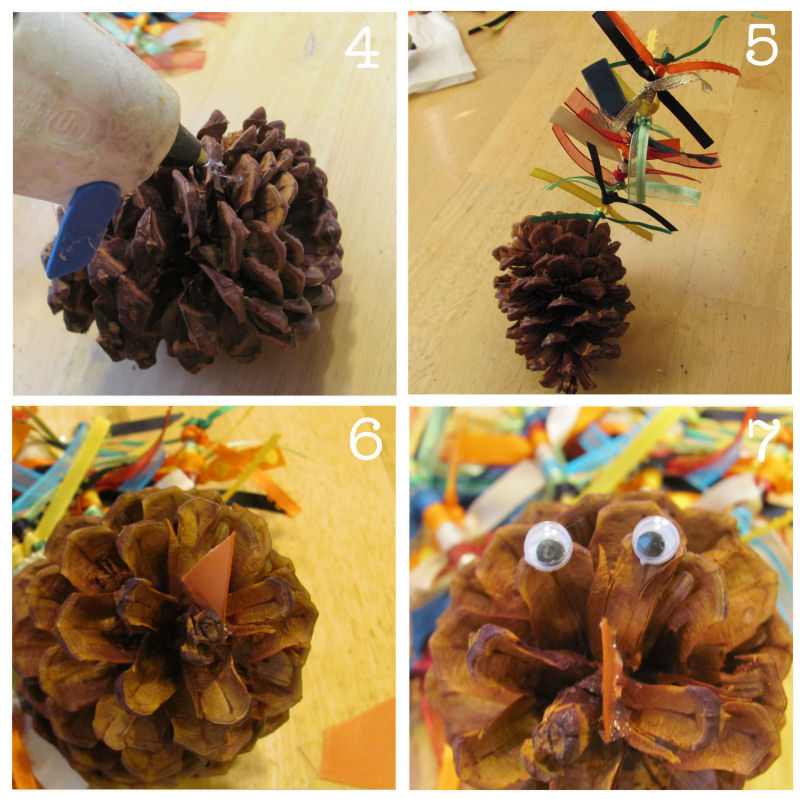
4 – Place pinecone on its side and put glue in the space between the pinecone wings (that’s what each little layered piece is called. Who knew?}. The wide base will be the back of your turkey and the narrow top will be it’s face.
5 – Place “feather” in glued space and hold in place until glue sets. We used 5 feathers per turkey.
6 – Cut a small triangle of ribbon for the beak and glue it on the front (top) of the pinecone.
7 – Glue on the googley eyes and your turkey is complete!
Kids will enjoy making it their own by choosing different color of ribbons and trying them in different patterns.
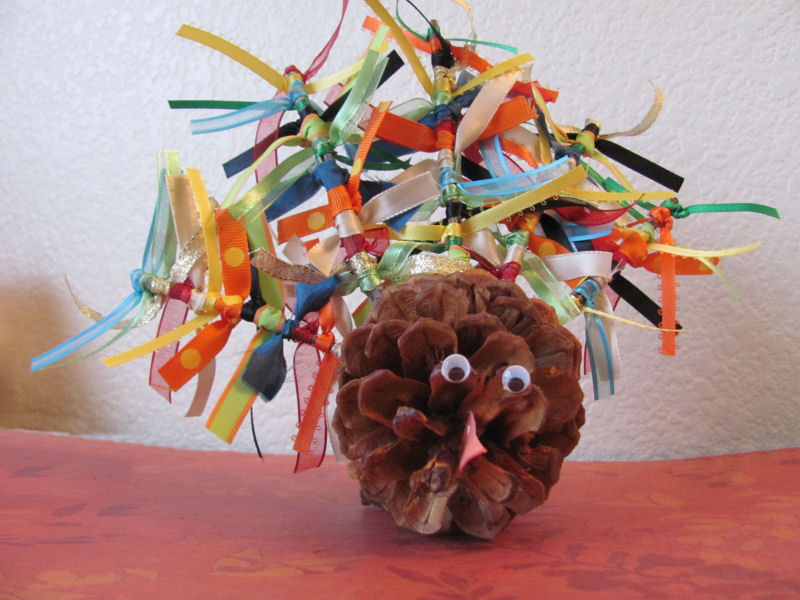
One of my boys made his with random color placement:
We made one with specific colors for each “feather”:
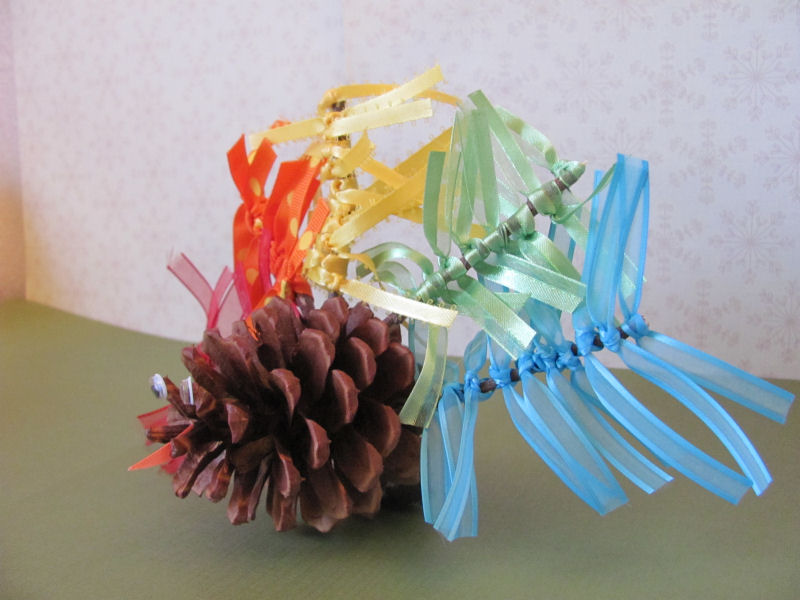
And we made one with a pattern on each “feather” to create a rainbow:
How fun would it be to welcome your guests {like these chalkboard acorns} with their very own ribbon feather pinecone turkey place-setting?
They’re cuteness is truly something to be thankful for. =)

